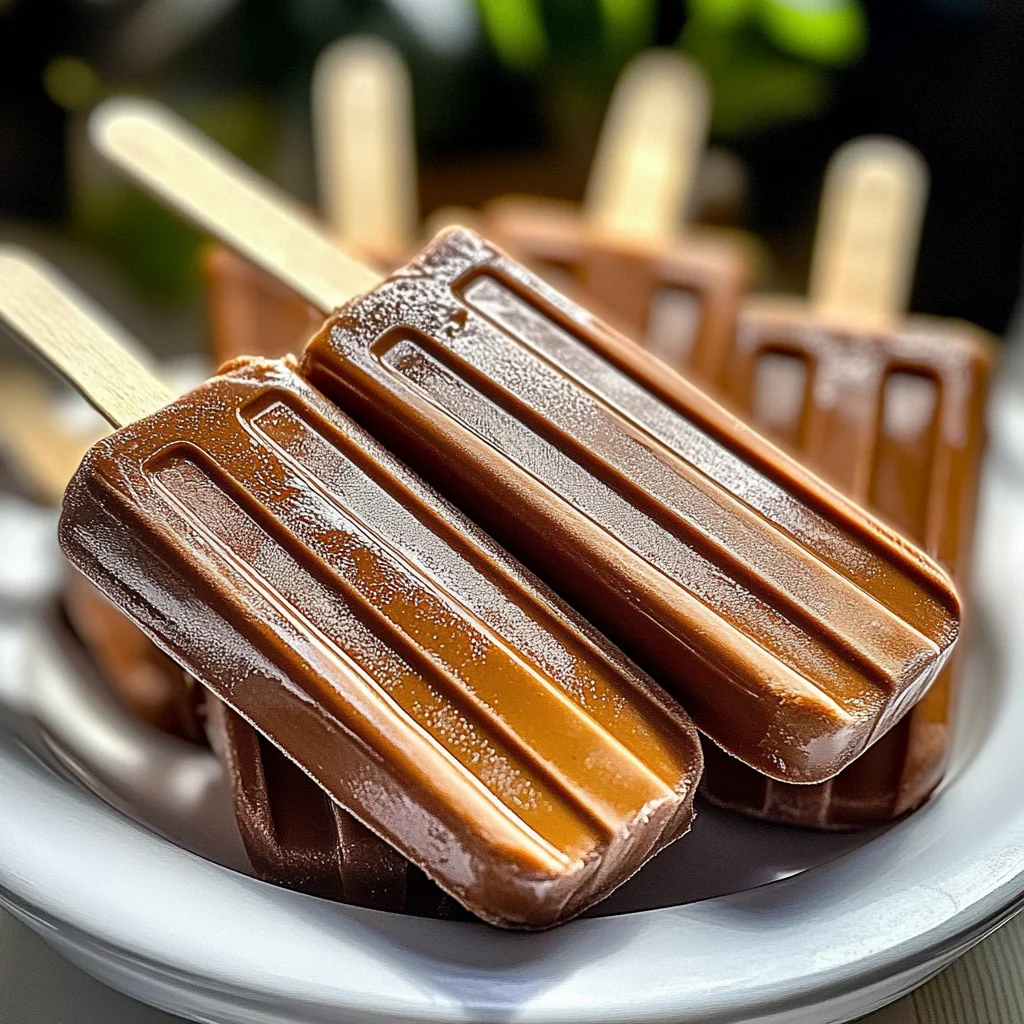
Homemade Fudgesicles: The Ultimate Guide to Delicious Frozen Treats are a delightful way to beat the heat. These creamy, chocolatey frozen treats are perfect for summer gatherings, kids’ parties, or simply enjoying on a warm afternoon. With just a few ingredients and easy steps, you can create fudgesicles that are rich in flavor and sure to impress.
Why You’ll Love This Recipe
- Easy to Make: With simple ingredients and straightforward instructions, these fudgesicles come together quickly.
- Rich Chocolate Flavor: The combination of cocoa powder and heavy cream delivers an indulgent chocolate experience.
- Customizable: Add your favorite flavors like mint or peanut butter for a unique twist on this classic treat.
- Perfect for Any Occasion: Whether it’s a summer barbeque or a cozy movie night, these fudgesicles fit right in.
- Kid-Friendly: Kids love helping out in the kitchen, and these treats are fun to make and eat!
Tools and Preparation
To get started with your homemade fudgesicles, you’ll need some essential tools. Having the right equipment will help ensure your treats turn out perfectly every time.
Essential Tools and Equipment
- Ice pop molds
- Medium saucepan
- Whisk
- Measuring cups and spoons
Importance of Each Tool
- Ice pop molds: These create the perfect shape for your fudgesicles and make them easy to freeze.
- Medium saucepan: A good quality saucepan ensures even heating of the mixture while preventing burning.
- Whisk: Using a whisk helps achieve a smooth texture by thoroughly mixing the ingredients.
Ingredients
Creamy, homemade fudgesicles with a rich chocolate flavor. Easy to make and perfect for a hot day!
For the Fudgesicle Mixture
- 1 cup granulated sugar
- 1/4 cup unsweetened cocoa powder
- 1/4 teaspoon salt
- 1 cup whole milk
- 1 cup heavy cream
- 1 teaspoon vanilla extract
- 1/2 teaspoon instant coffee granules (optional, enhances chocolate flavor)
For Garnish
- 2 tablespoons fresh parsley, finely chopped
How to Make Homemade Fudgesicles: The Ultimate Guide to Delicious Frozen Treats
Step 1: Prepare the Dry Ingredients
In a medium saucepan, whisk together the granulated sugar, unsweetened cocoa powder, and salt. Ensure no lumps remain for a smooth mixture.
Step 2: Combine Wet Ingredients
Gradually pour in the whole milk while whisking constantly. Once incorporated, add the heavy cream. This creates a creamy base for your fudgesicles.
Step 3: Heat the Mixture
Place the saucepan over medium heat. Whisk constantly until the mixture is smooth and glossy, ensuring that all sugar granules dissolve (5-7 minutes). Avoid boiling.
Step 4: Simmer Gently
Reduce heat to low and let it simmer gently for 2-3 minutes while stirring occasionally. This step enhances flavor without cooking off moisture.
Step 5: Cool Slightly
Remove from heat and let it cool slightly for about 5 minutes. This cooling stage is crucial before adding other ingredients.
Step 6: Add Flavor Enhancers
Stir in the vanilla extract and instant coffee granules (if using). These will deepen the chocolate flavor.
Step 7: Cool Completely
Allow the mixture to cool completely to room temperature before proceeding. This prevents melting when poured into molds.
Step 8: Prepare Molds
Lightly grease the inside of reusable molds to ensure easy removal later on.
Step 9: Fill Molds
Carefully pour the cooled fudgesicle mixture into prepared molds, leaving some space at the top for expansion during freezing. Insert sticks securely.
Step 10: Freeze Fudgesicles
Place filled molds in the freezer. Freeze for at least 6 hours or preferably overnight.
Step 11: Unmold Fudgesicles
To easily unmold your fudgesicles, run the molds under warm water for a few seconds before pulling them out.
Step 12: Serve & Enjoy!
Once unmolded, serve your homemade fudgesicles immediately! They taste best right after being removed from the freezer. Enjoy this delightful frozen treat!
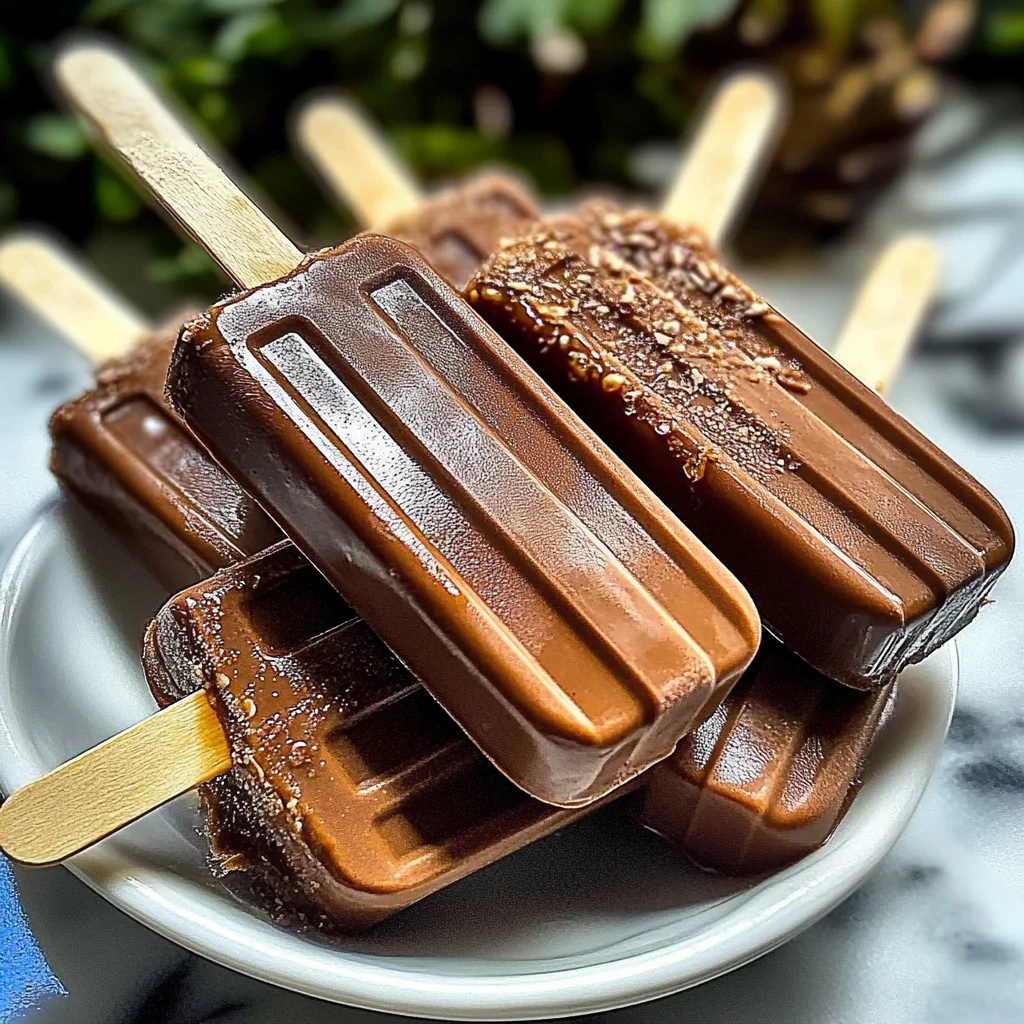
How to Serve Homemade Fudgesicles: The Ultimate Guide to Delicious Frozen Treats
Serving homemade fudgesicles is a delightful way to beat the heat and satisfy your sweet tooth. These rich, creamy treats can be enjoyed in various ways to enhance their deliciousness.
Classic Chocolate Delight
- Serve the fudgesicles as they are for a simple yet satisfying treat that highlights the rich chocolate flavor.
Dipped in Chocolate
- Melt some chocolate and dip the fudgesicles in it. This adds an extra layer of indulgence.
Sprinkled with Nuts
- Roll the fudgesicles in crushed nuts, like almonds or hazelnuts, for a crunchy texture that complements the creaminess.
Swirled with Peanut Butter
- Drizzle or dip the fudgesicles in peanut butter for a sweet and salty twist that pairs perfectly with chocolate.
Topped with Whipped Cream
- Add a dollop of whipped cream on top for an extra fluffy and creamy experience.
Served with Fresh Berries
- Pair your fudgesicles with fresh berries like strawberries or raspberries for a refreshing contrast to the chocolate.
How to Perfect Homemade Fudgesicles: The Ultimate Guide to Delicious Frozen Treats
To achieve the perfect homemade fudgesicles, follow these tips to ensure they are creamy and flavorful every time you make them.
- Use quality cocoa powder: Opting for high-quality cocoa enhances the chocolate flavor significantly.
- Chill before freezing: Allow the mixture to cool completely before pouring it into molds. This helps create a smoother texture.
- Experiment with flavors: Try adding different extracts like almond or coconut for unique variations.
- Avoid overfilling molds: Leave space at the top of each mold to allow for expansion during freezing.
- Run molds under warm water: This makes it easier to remove the fudgesicles without breaking them.
- Store properly: Keep any leftovers wrapped tightly in plastic wrap or stored in an airtight container to prevent freezer burn.
Best Side Dishes for Homemade Fudgesicles: The Ultimate Guide to Delicious Frozen Treats
Pairing side dishes with your homemade fudgesicles can elevate your dessert experience. Here are some tasty options to consider:
- Fruit Salad
A colorful mix of seasonal fruits adds freshness and balances out the richness of the fudgesicles. - Ice Cream Sundae
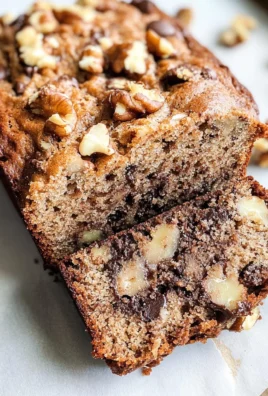
Serve alongside a scoop of vanilla ice cream topped with chocolate sauce for an indulgent treat. - Chocolate Chip Cookies
Classic cookies provide a delightful crunch that complements the smoothness of fudge pops. - Pineapple Coconut Sorbet
A tropical sorbet offers a refreshing zing that contrasts beautifully with chocolate. - Nutty Granola Bars
These chewy snacks add texture and are great for dipping along with your fudgesicle. - Cheesecake Bites
Mini cheesecake squares are rich and creamy, making them an excellent pairing with fudge pops. - Milkshake
A cold milkshake can be a fun drink option that pairs nicely with your chocolatey treat. - Chocolate Fondue
Set up a fondue station where you dip fruits, marshmallows, or pretzels alongside your fudgesicle for extra fun!
Common Mistakes to Avoid
Making homemade fudgesicles can be a fun and simple process, but there are common pitfalls that can affect your results. Here are some mistakes to avoid:
- Skipping the whisking step: Failing to whisk the sugar, cocoa powder, and salt properly can lead to a lumpy mixture. Make sure to whisk until smooth before adding liquids.
- Not cooling the mixture: Pouring the mixture into molds while it’s still hot can cause uneven freezing. Always let it cool to room temperature first for the best texture.
- Overfilling the molds: Filling molds too high can result in spills as they freeze and expand. Leave a little space at the top of each mold.
- Neglecting to grease molds: If you forget to lightly grease your molds, unmolding the fudgesicles can become difficult. A small amount of cooking spray or oil will help them release easily.
- Freezing for too short a time: Not allowing enough time for the fudgesicles to freeze completely will result in a soft treat. Aim for at least 6 hours or overnight for optimal firmness.
Refrigerator Storage
- Store any leftover fudgesicles in an airtight container in the refrigerator for up to 2 days.
- If you prefer not to keep them in molds, remove them and place them in a single layer in the container.
Freezing Homemade Fudgesicles: The Ultimate Guide to Delicious Frozen Treats
- Freeze homemade fudgesicles in their molds for at least 6 hours or overnight for best results.
- Ensure that the molds are placed on a flat surface while freezing to prevent spills.
Reheating Homemade Fudgesicles: The Ultimate Guide to Delicious Frozen Treats
- Oven: Preheat your oven at a low temperature (around 200°F). Place fudgesicles on a baking sheet and warm for about 5 minutes.
- Microwave: Use a microwave-safe plate and heat on low power for about 10-15 seconds. Check frequently to prevent melting.
- Stovetop: Place fudgesicles in a non-stick pan over low heat. Warm gently for about 1-2 minutes, flipping occasionally.
Frequently Asked Questions
Can I customize my Homemade Fudgesicles?
Yes! You can add different flavors or mix-ins like fruits, nuts, or even spices such as cinnamon for unique variations.
How long do Homemade Fudgesicles last?
Homemade fudgesicles can last up to 2 months if stored properly in the freezer.
What is the best way to unmold Homemade Fudgesicles?
Run warm water over the outside of the molds for a few seconds before attempting to remove them. This helps them release easily.
Are Homemade Fudgesicles suitable for kids?
Absolutely! These treats are not only delicious but also easy to make with kids involved in the process.
Final Thoughts
Homemade fudgesicles offer a delightful combination of creamy chocolate flavor and refreshing coldness, making them perfect for hot days. They are versatile, allowing you to customize flavors and ingredients based on your preferences. Try this recipe today and enjoy creating your own frozen treats!
Homemade Fudgesicles
Homemade fudgesicles are the ultimate frozen delight to cool down on hot summer days. These creamy, chocolatey treats are so easy to make with just a few simple ingredients, making them perfect for family gatherings, kids’ parties, or a refreshing snack on a warm afternoon. With their rich cocoa flavor and customizable options like mint or peanut butter, these fudgesicles are sure to impress both kids and adults alike. Plus, they offer a fun opportunity for children to help out in the kitchen! Dive into this guide and discover how to create your own delicious frozen treats at home.
- Prep Time: 15 minutes
- Cook Time: 10 minutes
- Total Time: 25 minutes
- Yield: Approximately 6 servings 1x
- Category: Dessert
- Method: Freezing
- Cuisine: American
Ingredients
- 1 cup granulated sugar
- 1/4 cup unsweetened cocoa powder
- 1/4 teaspoon salt
- 1 cup whole milk
- 1 cup heavy cream
- 1 teaspoon vanilla extract
- 1/2 teaspoon instant coffee granules (optional)
Instructions
- In a medium saucepan, whisk together sugar, cocoa powder, and salt until smooth.
- Gradually add milk while whisking continuously. Then incorporate heavy cream.
- Heat over medium heat while whisking until the mixture is smooth and glossy (5-7 minutes).
- Reduce heat to low and simmer gently for 2-3 minutes to deepen flavor.
- Remove from heat and cool slightly before stirring in vanilla extract and optional coffee granules.
- Allow the mixture to cool to room temperature before pouring it into greased ice pop molds.
- Insert sticks securely and freeze for at least 6 hours or overnight.
- To serve, run molds under warm water briefly before unmolding.
Nutrition
- Serving Size: 1 serving
- Calories: 156
- Sugar: 15g
- Sodium: 50mg
- Fat: 10g
- Saturated Fat: 6g
- Unsaturated Fat: 4g
- Trans Fat: 0g
- Carbohydrates: 16g
- Fiber: 0g
- Protein: 2g
- Cholesterol: 30mg
Leave a Comment