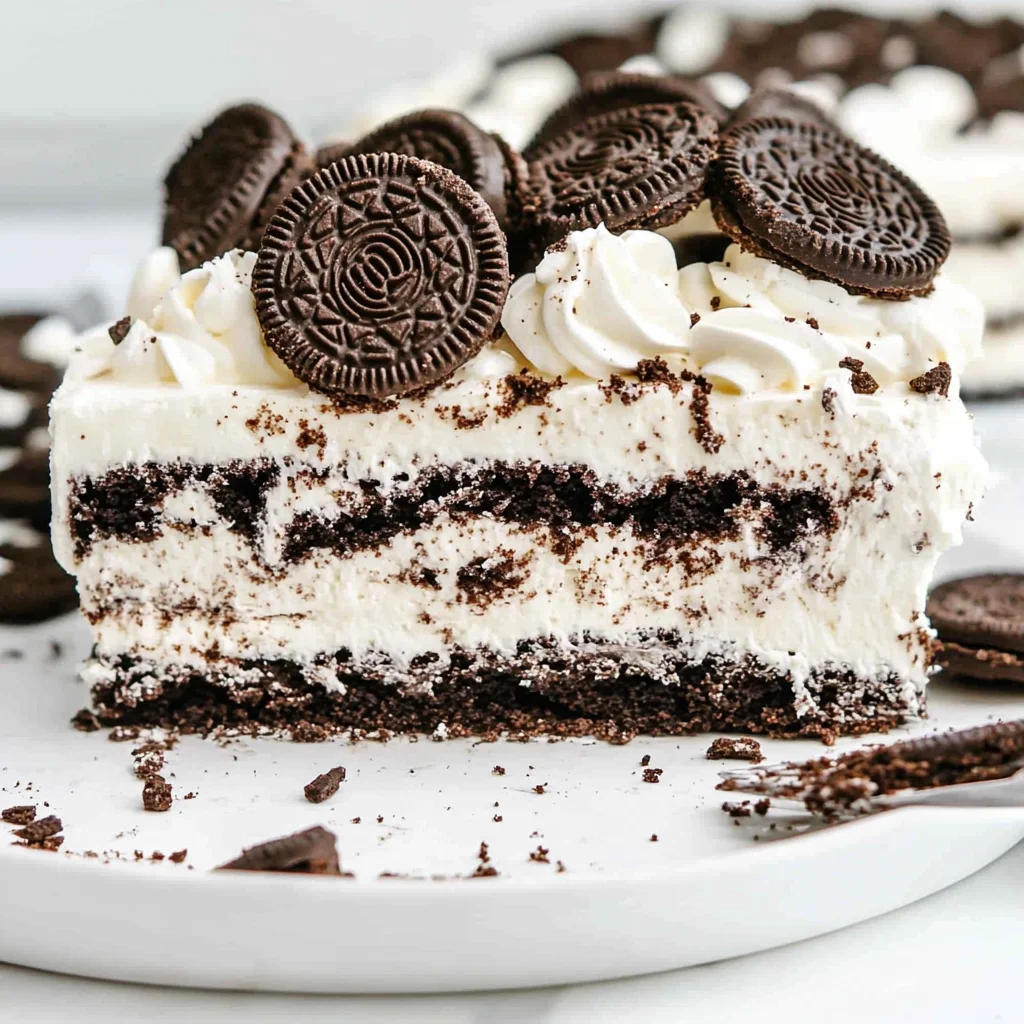
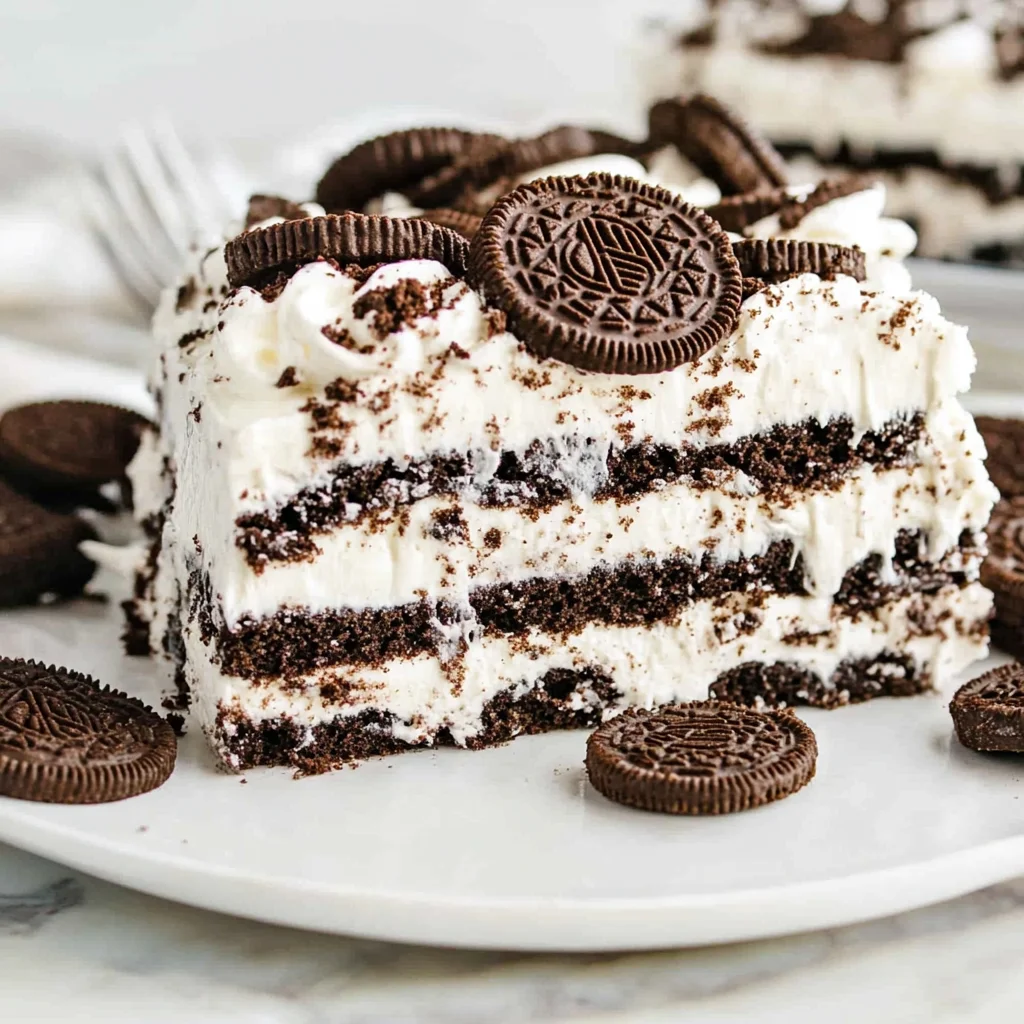
Oreo Icebox Cake is a delightful dessert that brings joy to any gathering, especially during the hot summer months. This no-bake treat features layers of crunchy Oreo cookies and a luscious chocolate filling, topped with whipped cream. It’s perfect for birthdays, picnics, or simply satisfying your sweet tooth. The best part? It requires minimal effort, making it a go-to recipe for busy bakers.
Why You’ll Love This Recipe
- Effortless Preparation: With no baking involved, you can whip this dessert up in just 15 minutes.
- Decadent Flavor: The rich combination of chocolate and cream cheese creates a flavor explosion that will impress your guests.
- Versatile Serving Options: Perfect for any occasion, from casual family dinners to festive celebrations.
- Layered Delight: Each slice reveals beautiful layers of cookies and creamy goodness, making it visually stunning.
- Make-Ahead Convenience: Prepare it the night before and let it chill in the fridge for a hassle-free serving.
Tools and Preparation
Before you start making your Oreo Icebox Cake, gather your tools. Having everything ready will ensure a smooth preparation process.
Essential Tools and Equipment
- Mixing bowls
- Electric mixer
- Heatproof bowl
- 8×8 inch pan
- Microwave
Importance of Each Tool
- Electric mixer: Speeds up the process of whipping cream and mixing ingredients to achieve the right texture.
- Microwave: Conveniently melts chocolate without risk of burning when used properly.
Ingredients
For the Oreo Icebox Cake, you’ll need the following ingredients:
- 4 oz semi-sweet chocolate (chopped into small pieces)
- 1 cup heavy cream/whipping cream
- 8 oz cream cheese (full-fat, brick style)
- 1/2 cup powdered sugar
- 32 Oreo Cookies
- 1/2 cup milk (for dipping the cookies in)
- 3/4 cup heavy cream
- 2 tablespoons powdered sugar
- 4-6 Oreo cookies (chopped)
How to Make Oreo Icebox Cake
Step 1: Prepare the Chocolate Filling
- Add the chopped chocolate to a heatproof bowl.
- Microwave for 45 seconds on medium power. Remove and stir.
- Repeat until fully melted.
Step 2: Whip the Cream
- In a large bowl, beat the heavy cream until stiff peaks form.
Step 3: Combine Cream Cheese Mixture
- In another bowl, beat the cream cheese until soft.
- Add melted chocolate and powdered sugar; mix well.
Step 4: Fold in Whipped Cream
- Gently fold the whipped cream into the cream cheese mixture until smooth.
Step 5: Layer Cookies in Pan
- Spread 1-2 tablespoons of filling on the bottom of an 8×8 inch pan.
- Dunk each Oreo cookie in milk briefly; place them in four rows of four at the bottom of the pan.
Step 6: Add More Filling
- Spoon remaining chocolate filling over laid Oreos; smooth out evenly.
Step 7: Top with More Oreos
- Dunk remaining Oreos in milk; layer over top of filling while pressing down gently.
Step 8: Chill While Making Topping
- Place pan in fridge while preparing topping.
Step 9: Prepare Whipped Topping
- Beat remaining heavy cream and powdered sugar until stiff peaks form.
Step 10: Assemble Topping
- Spread whipped cream over top of cake.
- Sprinkle with chopped Oreos.
Step 11: Set Before Serving
- Refrigerate for at least six hours before slicing and serving your Oreo Icebox Cake!
How to Serve Oreo Icebox Cake
Oreo Icebox Cake is a delightful dessert that can be served in various ways to enhance its flavor and presentation. Here are some creative serving suggestions to make your dessert experience even better.
Individual Dessert Cups
- Use small cups or jars to serve individual portions of Oreo Icebox Cake. This makes it easy for guests to enjoy their own serving without cutting the cake.
Garnish with Fresh Berries
- Top each slice with fresh berries like strawberries or raspberries. The acidity of the berries complements the sweetness of the cake beautifully.
Drizzle with Chocolate Sauce
- Add a rich chocolate sauce drizzle over the top before serving. This extra layer of chocolate enhances the overall flavor and adds visual appeal.
Serve with Vanilla Ice Cream
- Pair a slice of Oreo Icebox Cake with a scoop of vanilla ice cream. The creaminess of the ice cream balances the cake’s rich flavors perfectly.
Add a Whipped Cream Cloud
- Top each piece with an extra dollop of whipped cream. This adds a light, fluffy texture that contrasts nicely with the dense layers of the cake.
Enjoy Cold or Slightly Chilled
- Serve the cake cold for a refreshing treat, especially on hot summer days. Alternatively, leave it out for a few minutes to soften slightly before serving.
How to Perfect Oreo Icebox Cake
Perfecting your Oreo Icebox Cake can take your dessert from good to great. Follow these tips to ensure your cake turns out perfectly every time.
- Use high-quality chocolate: Choose semi-sweet chocolate for a richer flavor and smoother texture in the filling.
- Chill adequately: Allow your cake to set in the fridge for at least 6 hours or overnight. This helps all flavors meld together.
- Don’t rush the whipping: Beat the heavy cream until stiff peaks form; this is crucial for a light and airy filling.
- Layer cookies carefully: Dunk Oreos gently in milk and arrange them in rows without breaking. Proper layering creates that signature look.
- Opt for full-fat ingredients: Using full-fat cream cheese and heavy cream contributes to a richer taste and smoother texture.
- Experiment with toppings: Feel free to try different toppings like crushed nuts or caramel sauce for added flavor variations.
Best Side Dishes for Oreo Icebox Cake
Oreo Icebox Cake pairs wonderfully with various side dishes that complement its flavors. Here are some delicious ideas to serve alongside this indulgent dessert.
- Fruit Salad: A refreshing mix of seasonal fruits provides a light contrast to the richness of the cake.
- Chocolate-Covered Strawberries: These sweet treats echo the chocolate theme while adding an elegant touch.
- Mini Cheesecakes: Offer bite-sized cheesecakes as an alternative dessert option for variety.
- Coffee or Espresso: A warm cup of coffee enhances dessert time and balances out sweetness.
- Nutty Granola Bars: Crunchy bars add texture and can be enjoyed as a snack alongside slices of cake.
- Ice Cream Sundae Bar: Create a fun DIY sundae station where guests can customize their desserts with toppings.
- Coconut Macaroons: Chewy coconut cookies provide a unique twist that complements the flavors in Oreo Icebox Cake.
- Cheese Platter: A selection of cheeses can create an intriguing savory contrast, enhancing your overall dessert experience.
Common Mistakes to Avoid
When making Oreo Icebox Cake, it’s important to avoid a few common pitfalls that can affect the final result.
- Skipping the chilling time: Not allowing the cake to chill for at least 6 hours will result in a less firm dessert. Ensure you give it enough time in the fridge for the flavors to meld and the texture to set.
- Using low-fat cream cheese: Opting for low-fat cream cheese can lead to a watery filling. Stick with full-fat cream cheese for a rich and creamy texture.
- Overmixing the whipped cream: Whipping the cream too much can turn it into butter. Stop mixing as soon as stiff peaks form for a light, airy topping.
- Not dunking Oreos properly: Dunking Oreos in milk too long can make them soggy. Quickly dip them just enough to moisten without losing their shape.
- Ignoring ingredient temperature: Using cold ingredients, especially cream cheese, can make mixing difficult. Allow your cream cheese to reach room temperature before use for easier blending.
Refrigerator Storage
- Store Oreo Icebox Cake in an airtight container.
- It will keep well in the fridge for up to 4 days.
Freezing Oreo Icebox Cake
- If you want to freeze it, wrap individual pieces tightly in plastic wrap and then place them in an airtight container.
- You can freeze it for up to 2 months.
Reheating Oreo Icebox Cake
- Oven: Preheat your oven to 350°F (175°C). Cover the cake with foil and warm for about 10-15 minutes.
- Microwave: Place a piece on a microwave-safe plate and heat for about 15-20 seconds. Check if it’s warm enough before serving.
- Stovetop: Use a non-stick skillet over low heat. Add a slice of cake and cover with a lid, warm for about 5 minutes.
Frequently Asked Questions
Can I make Oreo Icebox Cake ahead of time?
Yes, you can prepare this dessert up to 24 hours in advance. The longer it chills, the better the flavors blend.
What variations can I try with Oreo Icebox Cake?
You can customize this recipe by using different flavored Oreos or adding layers of fruit like strawberries or bananas.
How should I serve Oreo Icebox Cake?
For best presentation, slice with a sharp knife and serve chilled. Consider garnishing with additional whipped cream or chocolate shavings.
Can I use homemade whipped cream instead of store-bought?
Absolutely! Homemade whipped cream gives you better control over sweetness and texture, enhancing your Oreo Icebox Cake experience.
Final Thoughts
Oreo Icebox Cake is not only an easy-to-make dessert but also incredibly versatile. With its creamy layers and crunchy cookie goodness, this dessert is sure to impress at any gathering. Feel free to customize it with your favorite flavors or toppings! Give this recipe a try; your friends and family will love it!
Oreo Icebox Cake

Oreo Icebox Cake is a decadent no-bake dessert that combines the irresistible crunch of Oreo cookies with a rich, creamy filling. Perfect for any occasion, this delightful treat comes together in just 15 minutes and requires minimal effort, making it an ideal choice for busy bakers. Layered with luscious chocolate and topped with fluffy whipped cream, each slice is visually stunning and bursting with flavor. Whether you’re celebrating a birthday, enjoying a summer picnic, or simply craving something sweet, Oreo Icebox Cake is sure to impress friends and family alike.
- Prep Time: 15 minutes
- Cook Time: None
- Total Time: 0 hours
- Yield: Serves approximately 9 slices 1x
- Category: Dessert
- Method: No-bake
- Cuisine: American
Ingredients
- 4 oz semi-sweet chocolate (chopped)
- 1 cup heavy cream
- 8 oz cream cheese (full-fat)
- 1/2 cup powdered sugar
- 32 Oreo cookies
- 1/2 cup milk (for dipping)
- 3/4 cup heavy cream (for topping)
- 2 tablespoons powdered sugar (for topping)
- 4–6 Oreo cookies (chopped for garnish)
Instructions
- Melt the chopped chocolate in a heatproof bowl using the microwave.
- In a separate bowl, whip 1 cup of heavy cream until stiff peaks form.
- Beat the cream cheese until soft; mix in melted chocolate and powdered sugar.
- Fold the whipped cream into the cream cheese mixture until smooth.
- Spread some filling at the bottom of an 8×8 inch pan; layer dunked Oreos on top.
- Spoon remaining filling over Oreos and layer more dunked Oreos on top.
- Chill while preparing whipped topping by beating remaining heavy cream and powdered sugar until stiff peaks form.
- Spread whipped topping over the cake and garnish with chopped Oreos.
- Refrigerate for at least six hours before serving.
Nutrition
- Serving Size: 1 slice (100g)
- Calories: 360
- Sugar: 24g
- Sodium: 220mg
- Fat: 26g
- Saturated Fat: 15g
- Unsaturated Fat: 10g
- Trans Fat: 0g
- Carbohydrates: 30g
- Fiber: 2g
- Protein: 4g
- Cholesterol: 60mg


Leave a Comment